advfe-unified-workspace
Advanced Front End: Starting a React Project inside the DRF project
Prerequisites:
These steps assume you have an active VS Code workspace for your DRF project, including a .venv with the required dependencies installed.
These steps will show you how to set up a new React application inside the workspace and repository for your DRF project.
-
Open the workspace for your DRF project
-
Open the terminal window and create a new folder called frontend in the root directory
mkdir frontend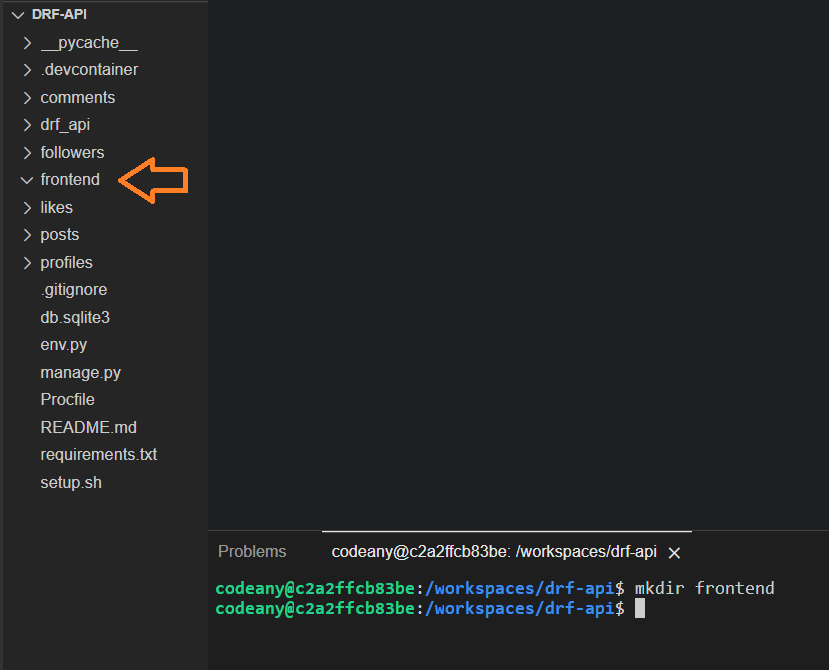
-
Change directory to be inside the frontend folder with the following command
cd frontend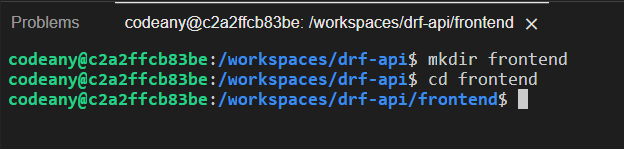
-
Make sure that Node.js v16 is installed and selected on your machine. If you need a reminder on how to do this, please revisit the Node.js installation guide for Windows or for MacOS.
-
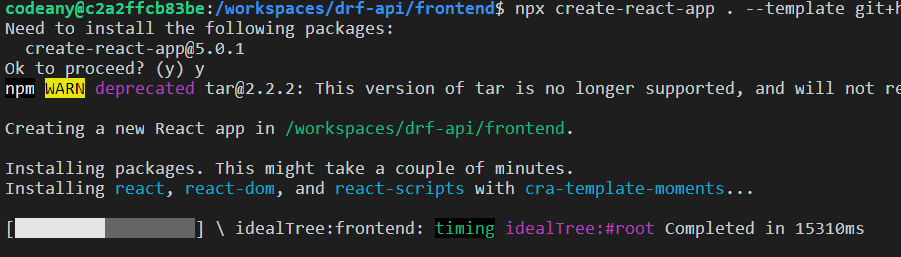
From inside the frontend directory, run the following command to create a new React app and install all the working dependencies used in the Moments application
npx create-react-app . --template git+https://github.com/Code-Institute-Org/cra-template-moments.git --use-npm
-
Enter y to confirm and then click enter
-
Wait for all dependencies to be installed. This installation will take some time, the terminal may appear to freeze for a few minutes. Once it does start to show activity you can ignore any deprecated warnings, these are extremely common and expected with npm installs. When the installs have been completed, your terminal will look like this

Before you proceed with the next step, verify that you are in the frontend directory by using the pwd command. Running the next step from your workspace in the wrong working directory is dangerous.
-
Enter the following command to remove the .git folder, .gitignore file and README.md from the frontend folder as these already exist within the root directory of your DRF project
If you are using PowerShell as your VS Code terminal shell:
rm ".git", ".gitignore", "README.md" -Recurse -ForceOtherwise:
rm -rf .git .gitignore README.md
-
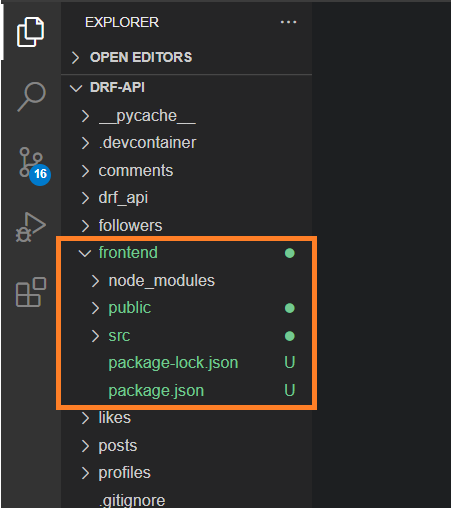
When you have completed these steps, your file structure should look like this
-
From inside the frontend directory, run the following command to check that the basic React app is running
npm start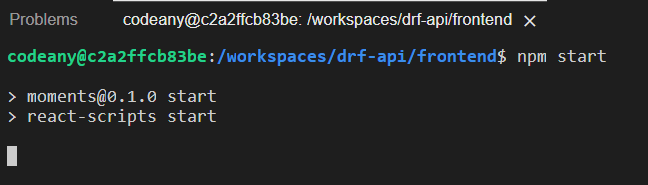
-
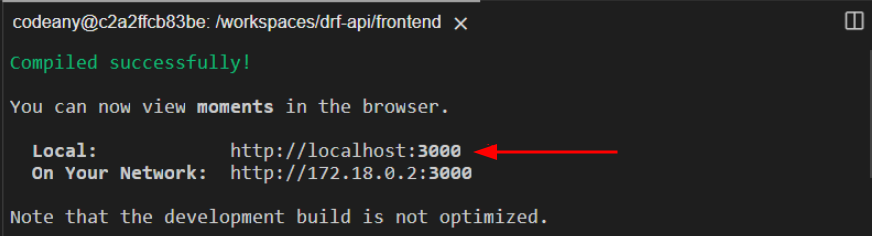
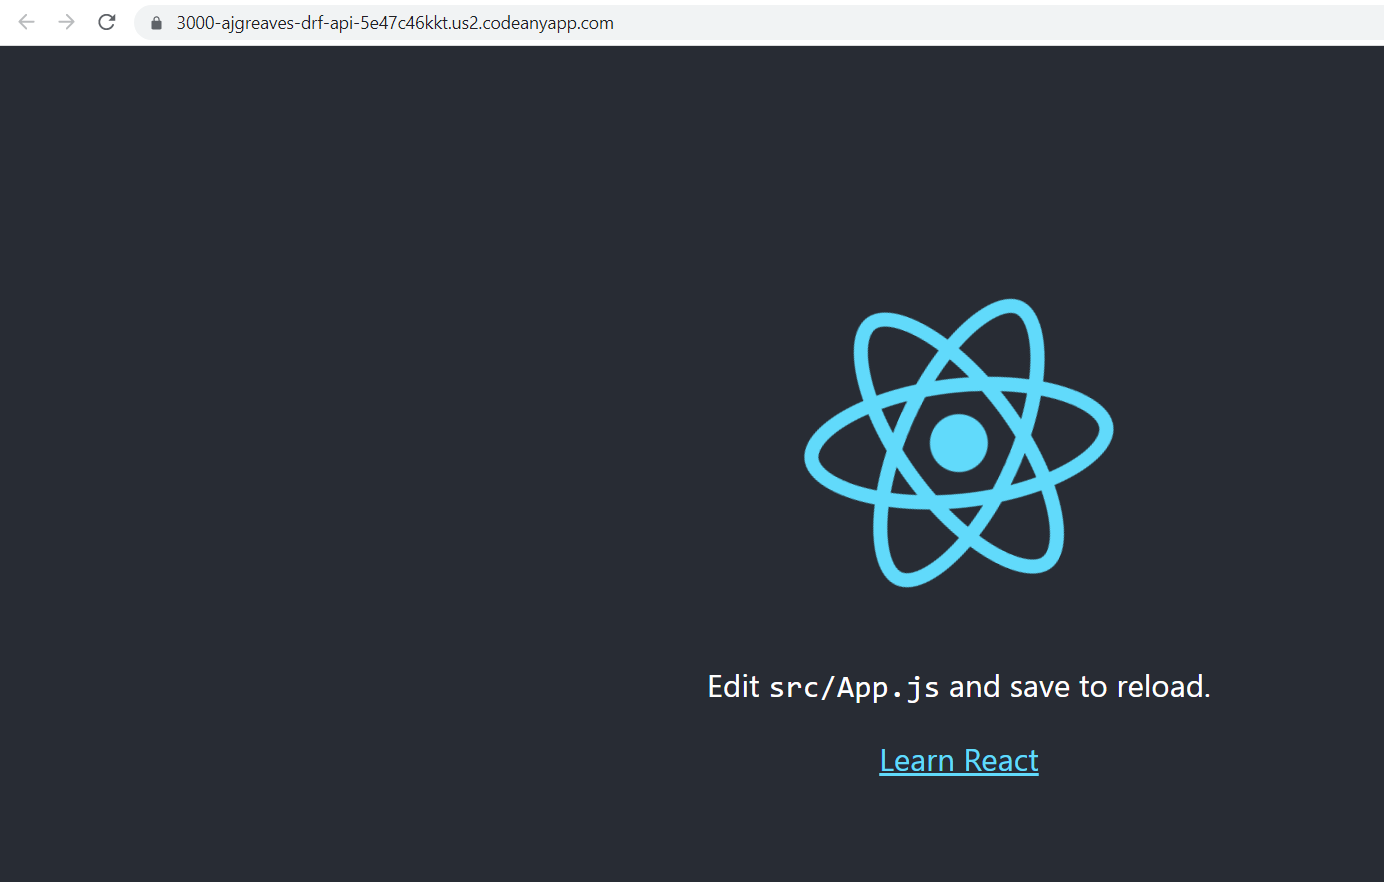
Once the npm build finishes successfully, the React app should open automatically in the browser. If the app doesn’t open automatically, you can open it by pressing and holding CTRL (Windows) or CMD (MacOS) and clicking on the localhost URL displayed in the terminal.
-
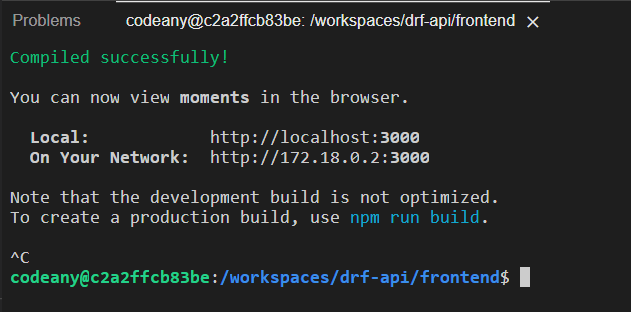
Stop the running application with CTRL-C in the terminal for a Windows machine, or CMD-C on a Mac
-
Move back to the root directory of your project with the following command
cd ..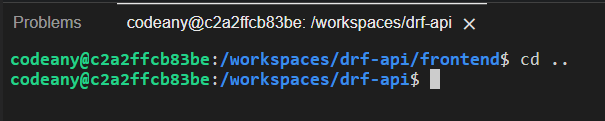
-
Inside the frontend folder, the node_modules folder will contain all the React dependencies that you will install during the development of your React app. By the end of your project, the folder will contain a huge number of dependencies and sub-dependencies, so you don’t want it tracked by Git nor pushed to GitHub.
Open the .gitignore file in the root of your project, and add the node_modules folder to it, prepended by
**to make sure the folder is ignored regardless of which folder or subfolder it is located in.**node_modules/
Remember to save the file.
This would be a good point to commit your changes so far.
Up Next
We show you how to prepare the Django API for development.