codeanywhere-docs
Workspace setup: Update the workspace template
Updating a workspace from an Gitpod to Codeanywhere template files.
Downloading and running a script
-
Once the workspace has opened, open up a new terminal by clicking Terminal in the top bar and selecting New Terminal from the menu

-
Run the following command:
curl https://gist.githubusercontent.com/NielMc/c645ead4fc1d2f8ba6dcfe7647c4e1fa/raw/f2682f3fc698898bb4977d3dc13e4a2fe5e11804/devcontainer -o update.shThis will create a new file called update.sh in your workspace:

-
Now run the command:
chmod u+x update.shThis command will not result in any terminal output if successful.
-
Finally, run the command:
./update.shUpon completion, you should have a folder in your workspace called .devcontainer. You can now delete the update.sh file by right clicking it and selecting Delete from the menu.

-
Run the following command, replacing FIRST_NAME LAST_NAME with your GitHub username:
git config --global user.name "FIRST_NAME LAST_NAME" -
Run the following command, replacing YOUR_EMAIL_ADDRESS@example.com with the email address you use for GitHub:
git config --global user.email "YOUR_EMAIL_ADDRESS@example.com" -
Now add, commit to git and push to GitHub.
git add .git commit -m "adds template for cloud IDE"git push origin main -
Return to GitHub and you will see the repository has been updated with your changes. Copy the repository https URL.
-
Go to the CodeAnywhere dashboard.
-
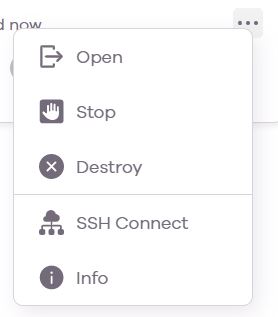
As you have finished with the workspace used to update the template and all code is pushed to GitHub you can delete the workspace using Destroy. This is done from the … menu at the right of the workspace in the dashboard.
-
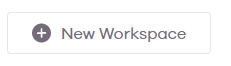
On your Dashboard, click on the New Workspace button
-
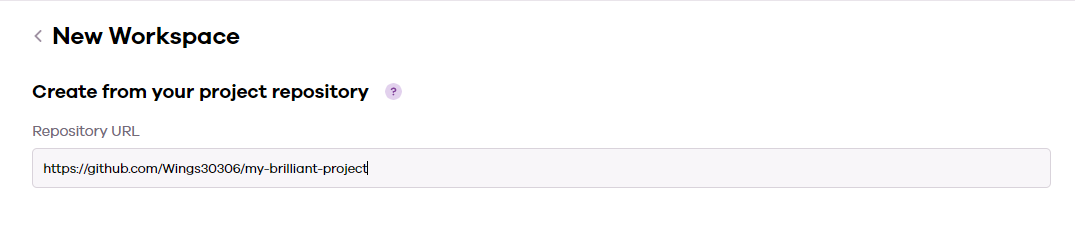
Paste in the repo URL you copied from GitHub
-
Click Create
-
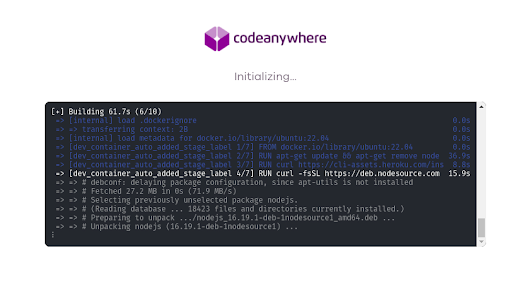
Wait for the workspace to open. This can take a up to ten minutes for the initial load. It is complete when you see the Python version posted at the bottom-left of the workspace.

Your workspace is now ready to use. When you want to return to this project, you can find it in your CodeAnywhere Dashboard. Subsequent loads will be much quicker. You do not need to create any more workspaces for this project.