deployment-docs
💜 Heroku Student Pack : Activating
Activating your Heroku student pack.
If you have not activated your GitHub Student Developer Pack yet, please send a blank email to community@codeinstitute.net with GHSPR+GitHub+Student+Pack+Request as the subject line.
Make sure you send it from the same email address you use to log in to the LMS; you'll then receive a reply with your activation code and instructions.
Heroku for GitHub Students
-
Navigate to https://www.heroku.com/github-students

-
Click “Get the student offer”

-
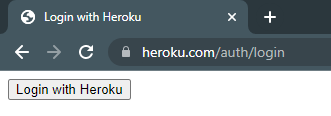
Login with Heroku if necessary
-
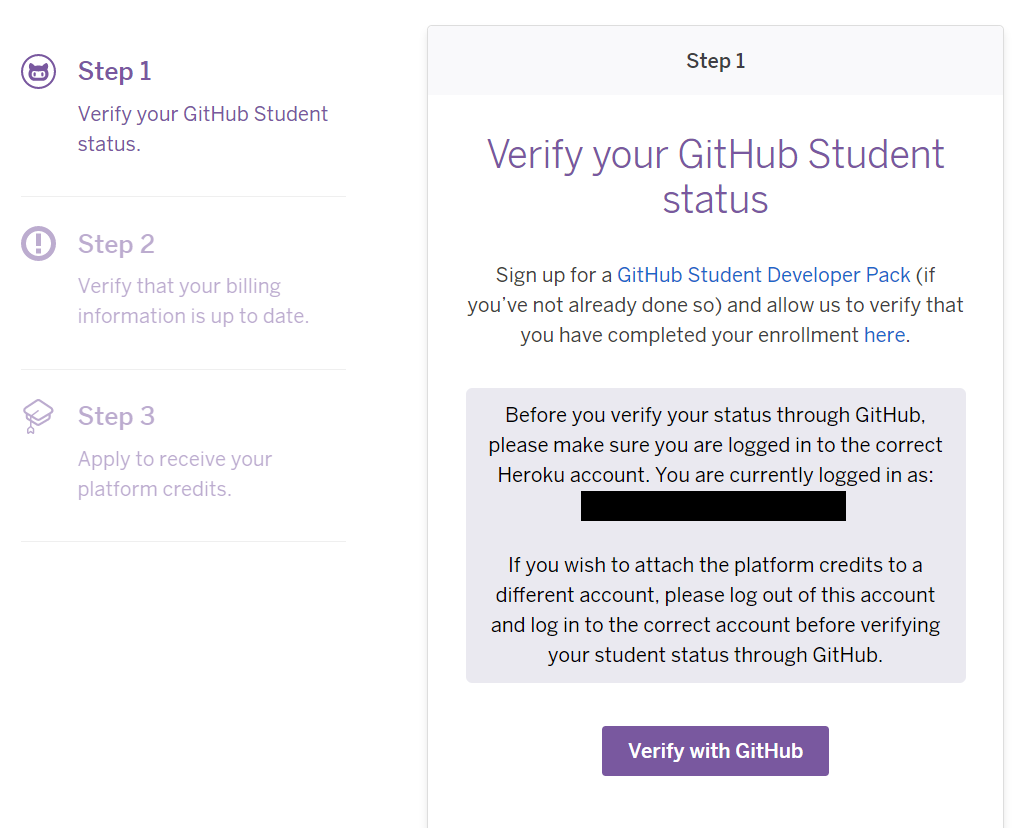
Click “Verify with GitHub”
-
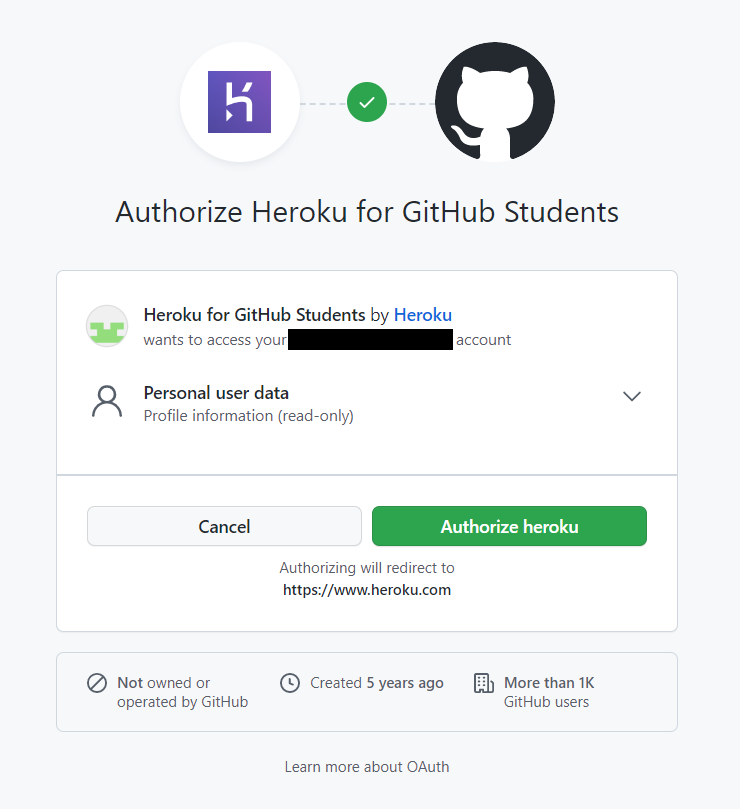
Click “Authorize heroku”
-
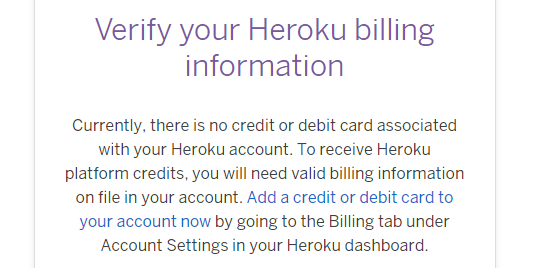
In order to receive the Heroku credits, payment details are required. If you have already supplied details, continue by clicking “Verify my billing information” and skip to step 7. If, however, you have not provided any details, click “Add a credit or debit card to your account now”
-
In the new tab, click “Add credit card”. Note that this doesn’t have to be a credit card, a debit card will work just as well

-
Enter your payment details as requested and then head back to the Heroku sign up process (you may need to refresh the page for Step 2 to validate). If you closed the tab, open it up again here
If you have any issues adding your card to Heroku, check the following:
- The cardholder details (name and address) are exactly the same as what your bank has.
- Your card is open to web purchases, as Heroku will debit a small amount (under 1 euro) to verify the card, and then refund it. This should take no more than a few hours.
-
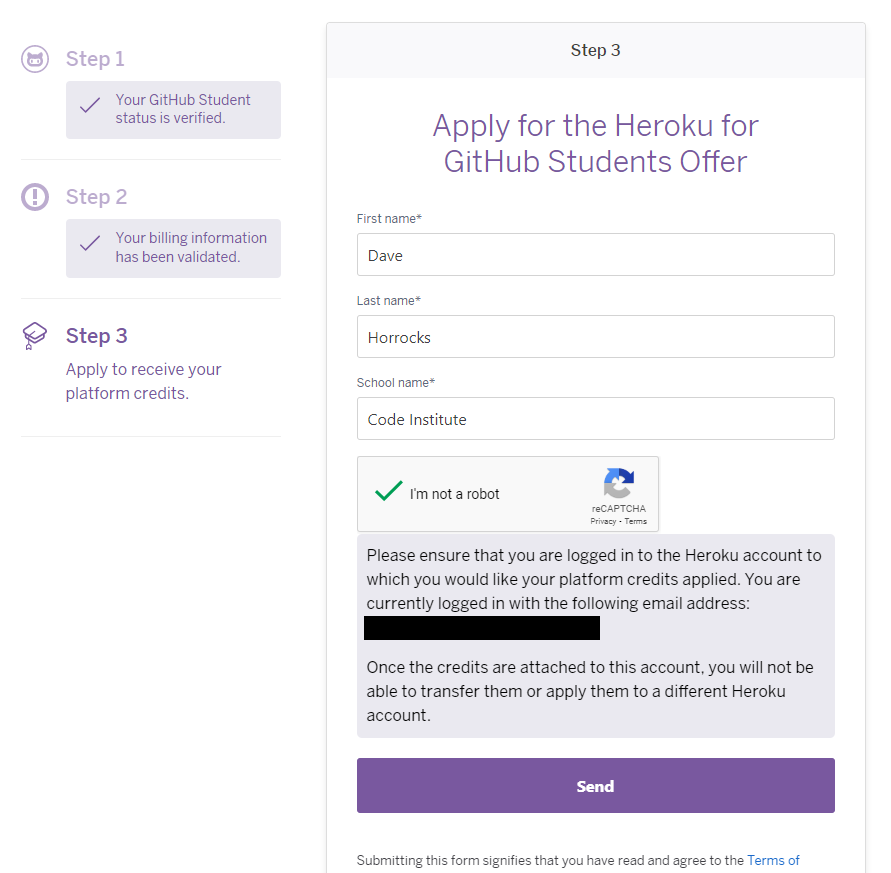
Enter your details, ensuring to put “Code Institute” as your School name, heed the warning and then click “Send”
-
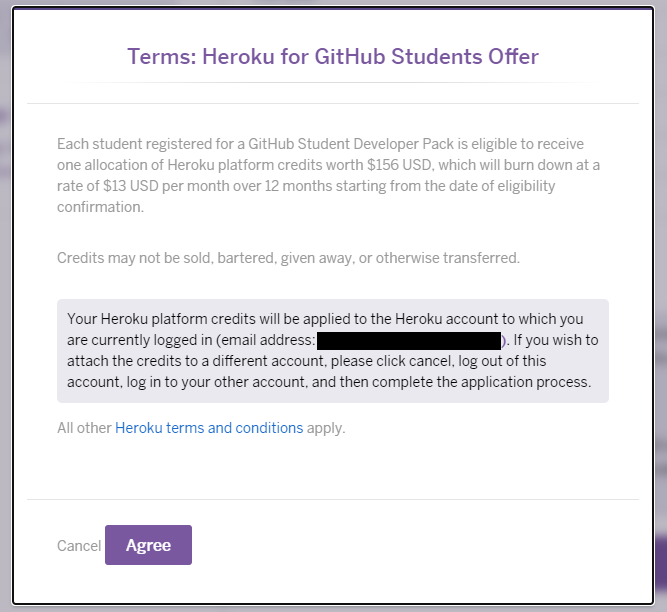
Read Heroku’s terms and click “Agree” to continue
-
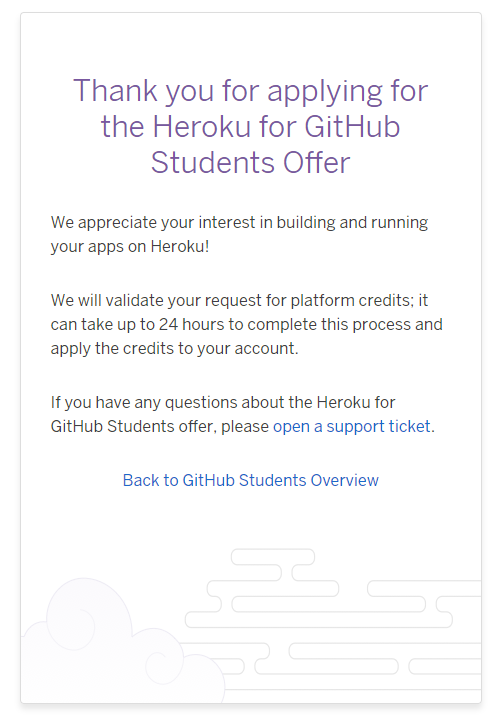
A thank you message will be shown, indicating that it can take up to 24 hours for the request to be processed
-
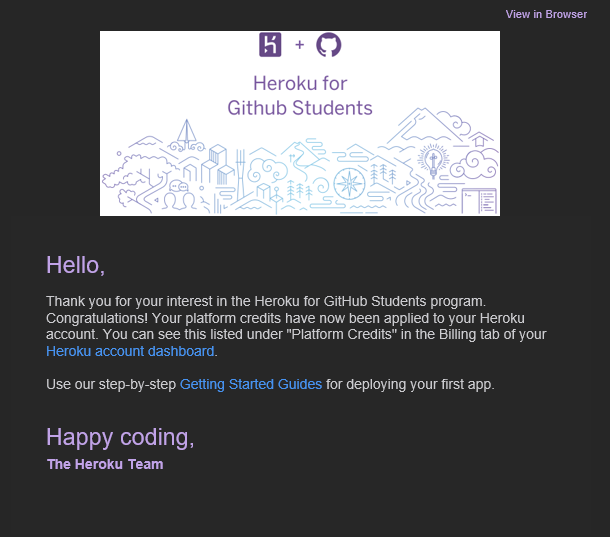
When the confirmation email comes through from Heroku, you can check your credits via https://dashboard.heroku.com/account/billing. Here you should find that $156.00 of credits have been applied to your Platform Credits. It can take a while for the dashboard to update, so please wait the full 24 hours before contacting Heroku support in the event of any errors

If you don't get your Heroku credits within 24 hours. Raise a ticket with Heroku here and they can fix that for you.
That's it for now. We will return to Heroku later on to activate the dynos for your projects.