deployment-docs
Django (PP4) : Preparing your code for Render.com
Modifications to prepare for deployment to Render.com.
Now that your database is configured, you need to prepare your repository for deployment to Render.
Note: To ensure that the development version of your project is also up to date, remember to update the DATABASE_URL variable in your env.py in Gitpod too. If you forget, you'll get an error message that says something like FATAL: role "randomletters" is not permitted to log in. This is because the original Heroku Postgres database no longer exists.
Process
-
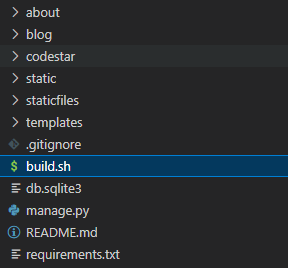
Create a file in the root directory of your repository called build.sh
This file, a shell script, will be referenced and run in the deployment stages on Render.com.
-
Paste in the following code to build.sh
 set -o errexit
 pip install -r requirements.txt
 python manage.py collectstatic --noinput
 python manage.py makemigrations && python manage.py migrate
The first line here handles any errors reported from the script and exits the process if any are present. The remaining lines are things you may recognise:
- pip install -r requirements.txt installs the packages detailed in your requirements.txt file.
- python manage.py collectstatic collects all static files to allow them to be served in the production environment. The –noinput flag allows the command to run with no additional input from the deploying developer.
- python manage.py makemigrations && python manage.py migrate are run to ensure all migrations are made to your production database.
-
Save the file
-
In your settings.py file add the following code below the declaration of your ALLOWED_HOSTS variable
 # Add Render.com URL to allowed hosts
 RENDER_EXTERNAL_HOSTNAME = os.environ.get('RENDER_EXTERNAL_HOSTNAME')
 if RENDER_EXTERNAL_HOSTNAME:
   ALLOWED_HOSTS.append(RENDER_EXTERNAL_HOSTNAME)
When deploying on Render, a few environment variables are created behind the scenes. One of these variables, RENDER_EXTERNAL_HOSTNAME, contains the URL of your deployed site. This means you don’t need to guess, or deploy and then immediately redeploy with the hostname added manually.
-
Unlike Heroku, Render does not require a Procfile - so you can delete this file
-
Add, commit and push your changes to GitHub.
Up Next
Now your database and your code are ready for deployment, we can take a look at setting up your project on Render. First step is creating a Web Service, as explained on the following page.