deployment-docs
Advanced Front End | DRF (PP5) : Environment variables
To provide secret keys and some further required configuration details, environment variables are added to the service.
During the development process you may have used an env.py file which contained sensitive information. For the application to perform correctly, this information is required in the production environment. When deploying to Heroku, you probably converted that file to a set of config vars.
You may have access to your env.py file in a pinned workspace, but not necessarily. Luckily, Render provides a couple of ways to give your application access to these details without exposing them to the public.
Individual Variables
This allows the addition of individual environment variables.
This would be a good place for development and debug variables when needed.
Secret File
This file will be available ‘behind the scenes’, just like an env.py file that is included in the .gitignore. It is not accessible to the public, so the security and secrecy of its content are maintained.
This also acts as a nice backup location of production environment variables should a Gitpod workspace be lost without another external backup of the env.py file.
Process
❌ NO access to env.py
If you do not have access to a copy of your env.py file, please follow the steps below. If you do have access, please skip ahead.
-
Scroll down and click “Advanced”

-
Click “Add Environment Variable”

-
Add a key: WEB_CONCURRENCY and a value: 4

By default, gunicorn is set to use this variable to control the number of worker processes for handling requests. If you wish, you can take a look into the gunicorn documentation for a deeper dive.
-
Open a new browser tab and navigate to your Heroku dashboard and open the Settings tab of your existing app

-
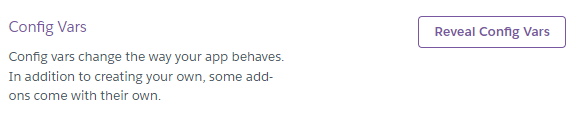
Click “Reveal Config Vars”
-
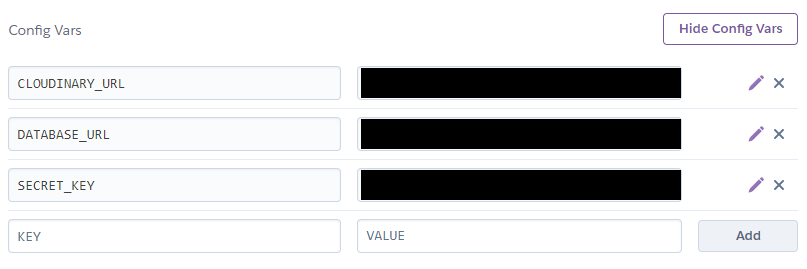
Copy each Config Var key and value from Heroku and paste each in as a new environment variable. Remember to update your DATABASE_URL variable with the new ElephantSQL URL
-
Click “Save”
✅ Access to env.py
If you used an env.py file to store your environment variables, and have access to it, please follow the steps below
-
Scroll down and click “Advanced”
-
Click “Add Environment Variable”
-
Add a key: WEB_CONCURRENCY and a value: 4
By default, gunicorn is set to use this variable to control the number of worker processes for handling requests. We recommend taking a look into the gunicorn documentation for a deeper dive.
-
Copy the content of your existing
env.pyfile from Gitpod to your clipboard. -
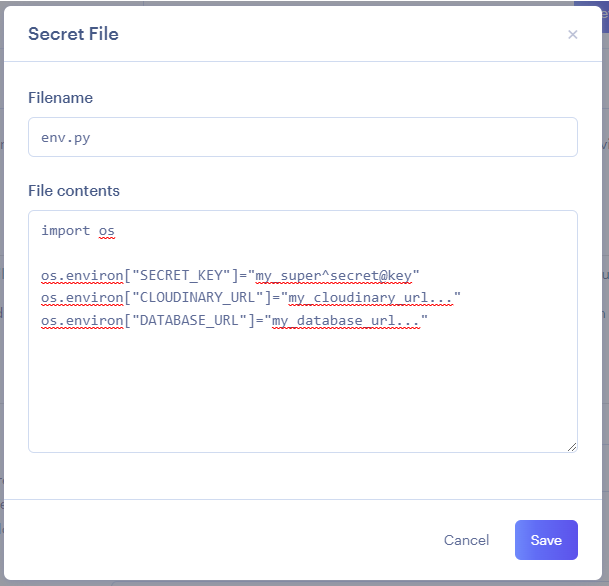
Return to Render and click “Add Secret File”

-
Paste in the copied text to the File contents text area input and ensure the Filename is env.py
Remove any environment variables that are only needed in Gitpod. For example
DEVor DEVELOPMENT. -
Click Save when done
-
Check your Heroku app config vars to ensure you have all the environment variables that your Render app will need. As some of these might not have been stored in your
env.pyfile. Use the same process as steps 1 - 3 to add any remaining config vars to Render
Up Next
The final option is whether to Auto-Deploy. The two options are explained in the following page.