deployment-docs
Migrating databases : Connecting your ElephantSQL database to Heroku
Steps to connect your new ElephantSQL database to an existing Heroku app.
You have successfully created a new database instance and migrated all your data. In this final step, we will take a look at what needs to be changed on the Heroku Dashboard to access this.
Reminder: These steps apply to any Postgres-based projects that you need to keep running, including projects that have already been submitted. These changes will not affect assessments as they are updating an environment variable and there are no changes to your code.
Adjust the DATABASE_URL on Heroku
-
In the Heroku Dashboard for your project, open the Resources tab

-
In the Resources tab, remove the existing Postgres add-on:
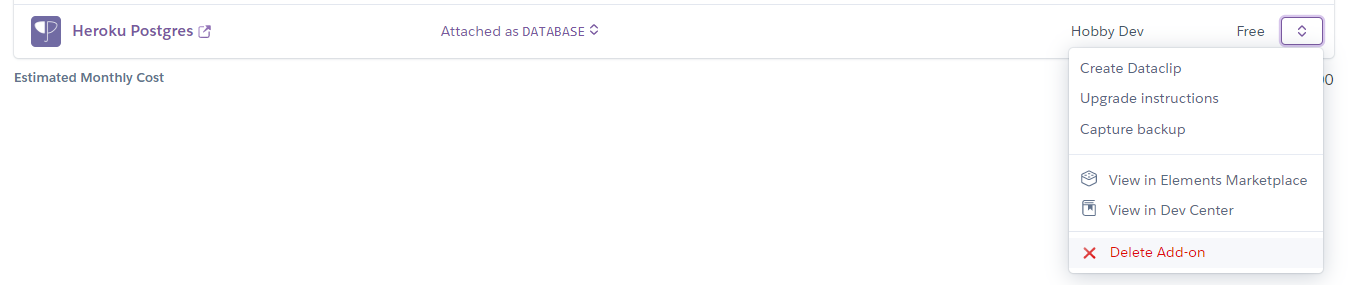
Removing this add-on will completely remove the old database, so make sure you only do this after your data has been migrated.
-
Confirm by typing in the name of your Heroku app when prompted.
-
Navigate to the Settings tab

-
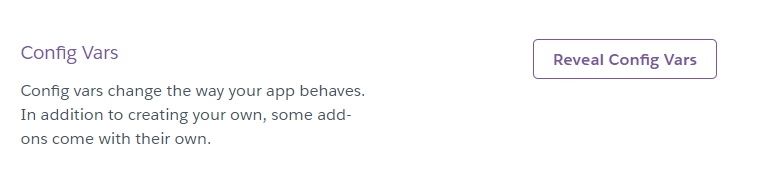
Reveal your existing Config Vars. The original DATABASE_URL should have been deleted when the add-on was removed.
-
Add a new config var called DATABASE_URL and paste in the value for your ElephantSQL database, and click Add to save it.

-
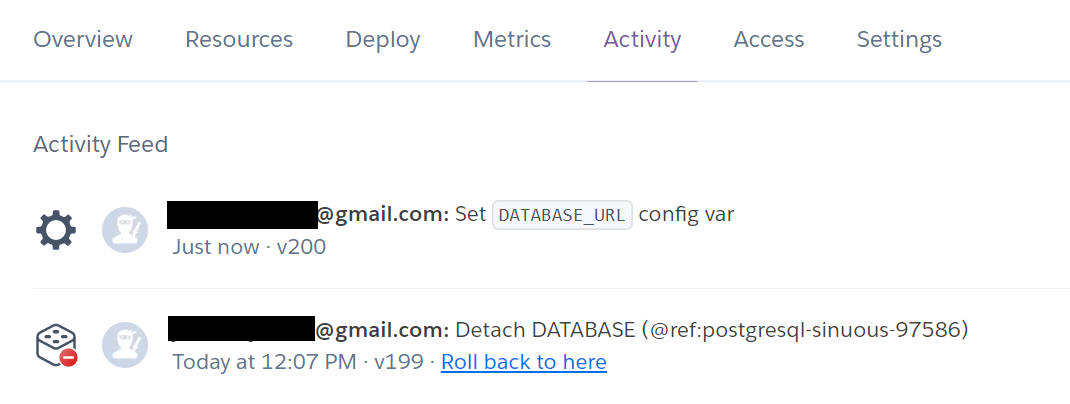
Check the Activity tab, the last two activities should look something like this:
-
Click the Open App button and test your project. It should still work the same as before and have all your data. You should thoroughly test to check that all the CRUD functionality is working as expected on the new database.
Note: To ensure that the development version of your project is also up to date, remember to update the DATABASE_URL variable in your env.py in Gitpod too. If you forget, you'll get an error message that says something like FATAL: role "randomletters" is not permitted to log in. This is because the original Heroku Postgres database no longer exists.
Up Next
That's it! The project is now connected to the new database. Congratulations, you have successfully migrated your database! 🎉