advfe-unified-workspace
Advanced Front End: Compiling the static files
Combining both Django and React static files and compiling them.
Now that the code for collecting and accessing the static files has been created, we can compile all of the static files from both the Django admin panel and the React files into the staticfiles folder for deployment.
-
Collect the admin and DRF staticfiles to the empty staticfiles directory you created earlier, with the following command in the terminal
python3 manage.py collectstatic
-
Next, we will compile the React application and move its files to the staticfiles folder. In another terminal, cd into the frontend directory
cd frontend
-
Make sure that Node.js v16 is installed and selected on your machine. If you need a reminder on how to do this, please revisit the Node.js installation guide for Windows or for MacOS.
-
Then run the command(s) to compile and move the React files
If you are using PowerShell as your VS Code Terminal shell:
-
run this command first:
npm run build -
when the first command has finished running, run:
mv build ../staticfiles/.
Otherwise, run the single command:
npm run build && mv build ../staticfiles/.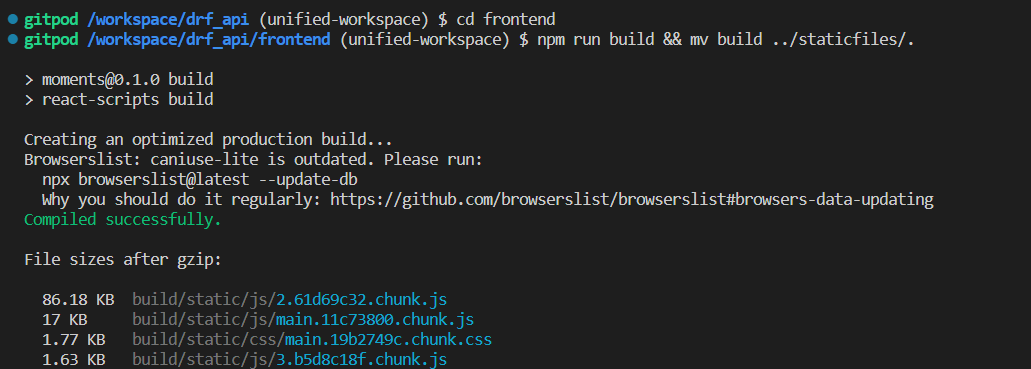
You will need to re-run this command any time you want to deploy changes to the static files in your project, including the React code. To do this, you need to delete the existing build folder and rebuild it.
To delete the old folder and replace it with the new one:
If you are using PowerShell, run these commands in sequence, waiting for each one to finish before you run the next one:
npm run build
rm "../staticfiles/build" -Recurse -Force
mv build ../staticfiles/.
Otherwise, run the single command:
npm run build && rm -rf ../staticfiles/build && mv build ../staticfiles/. -
-
Now your staticfiles folder should be filled with all the static files needed for deployment
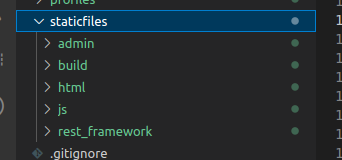
Depending on your specific dependency versions, your file structure in the staticfiles folder may be slightly different from the above image. The folders we need to be sure are there are the admin and build folders.
Adding a runtime.txt file
This will ensure Heroku uses the correct version of Python to deploy your project.
-
In the root directory of your project, create a new file named runtime.txt
-
Inside the runtime.txt, add the following line:
python-3.12.8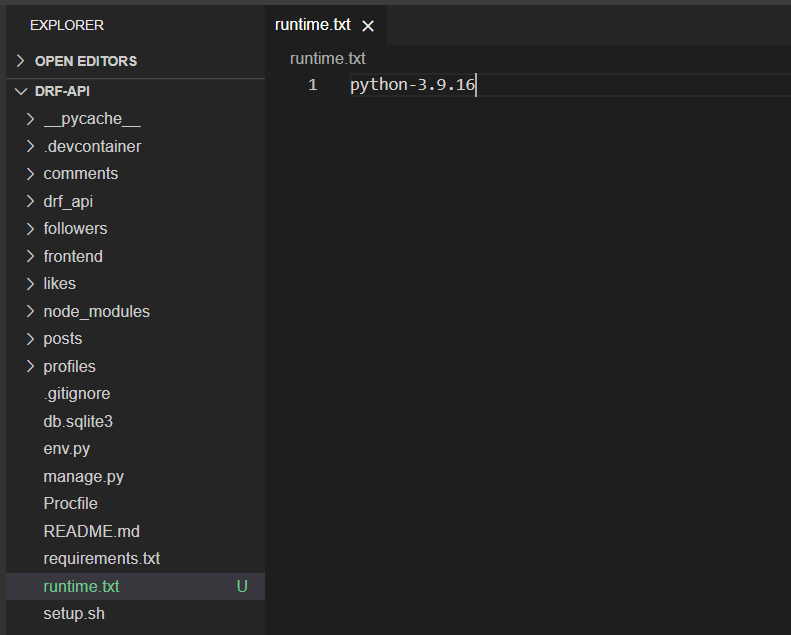
Reverting psycopg2-binary to psycopg2
We have updated requirements.txt with pip freeze in a previous step and this will have restored psycopg2-binary (that we have installed in our workspace for development) to the file. However, psycopg2-binary will not work well in the deployed app, so we need to revert to the production-grade psycopg2 before we do the final push to GitHub for deployment in the next section.
In requirements.txt, locate the line with the dependency psycopg2-binary.
psycopg2-binary==2.x.x
In the line, manually delete the -binary part, leaving the rest (including the version number) unchanged, like this:
psycopg2==2.x.x
Remember to save the file.
Up Next
Everything is ready to go, so let’s see if it works.