advfe-unified-workspace
Advanced Front End: Preparing your existing Heroku app for deployment
These are the final steps. Once completed, your project will be deployed to Heroku.
If you have not deployed this application to Heroku before, you can find most of the steps for this in the Deployment section of the Django REST Framework module. Please ensure that you have added those settings, plus the additional ones below.
-
Log into your Heroku account and access the dashboard for your DRF application
-
Go to Settings and open the Config Vars
-
Ensure your application has an ALLOWED_HOST key, set to the URL of your combined project, remove the https:// at the beginning and remove the trailing slash at the end
-
Ensure your application has a CLIENT_ORIGIN key and set it to the URL of your combined project. This time keep the https:// at the beginning but remove the trailing slash at the end

If you had a value for CLIENT_ORIGIN before, this would have been for your separate React project deployment on Heroku, now this value needs to be updated to the URL for your combined application.
-
If your application still has a CLIENT_ORIGIN_DEV key set, delete the variable by clicking on the “X” icon next to it.

CLIENT_ORIGIN_DEV would have been for the local React project in your IDE to connect to the separately deployed DRF API on Heroku. Since we now have the React app and the API in the same repo and workspace and can connect them locally in VS Code for development, this variable is no longer needed.
-
Ensure all your settings are in place, including the ones from the Deployment section of the Django REST Framework module. Including saving, committing and pushing any changes made to your code
-
Deploy your application from the Deploy tab in your Heroku dashboard
Deleting the Heroku Postgres add-on
Heroku automatically attaches this add-on only upon the first deployment of a Django app. If you then delete the add-on, Heroku won't reattach it on any subsequent deployment. Therefore the steps below apply to you only if you are deploying this app for the very first time. Otherwise, you can ignore this section.
Due to a Heroku automation, Heroku automatically assigns you a paid-for Postgres database add-on despite the fact that you are not using their database service for your application. To prevent getting charged for this add-on, you can remove it with the following steps.
-
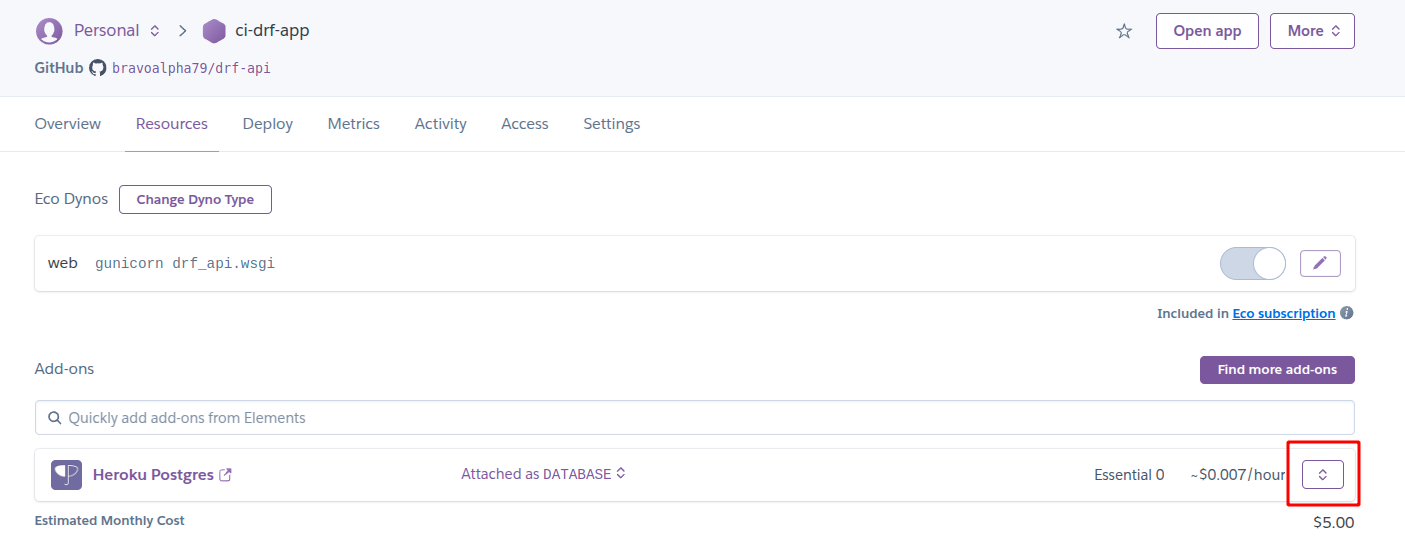
In your Heroku app dashboard, click the Resources tab.

-
Next to Heroku Postgres, click the chevron button on the far right.
-
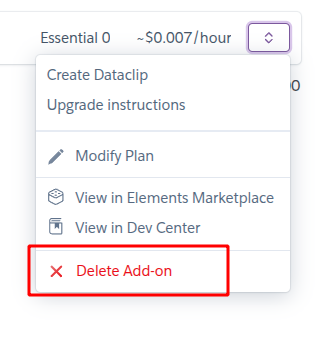
Select Delete Add-on.
-
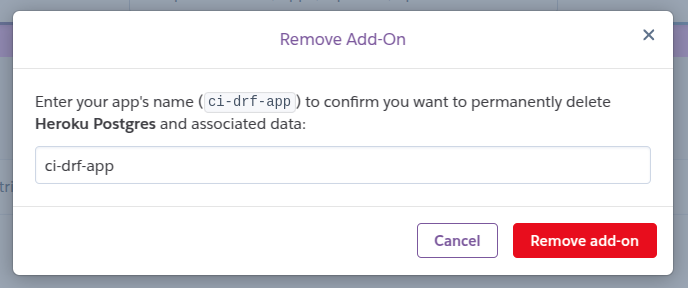
Type in your app name, then click Remove add-on.
Up Next
That's it! You have successfully deployed your project in one app, congratulations! 🎉