deployment-docs
Python Essentials (PP3) : Settings
To ensure the application is configured correctly, the web service's configuration settings are required.
A brief explanation of each setting is given below.
Settings
Name
A name is chosen to help identify the deployment. This will be listed in the Render dashboard overview.
The name chosen will form part of the deployed URL. If the name is unique on Render.com, the resulting URL will be <name>.onrender.com. If the name is not unique, a random hash with be appended to the name given, e.g. <name>-3yk1.onrender.com
Root Directory
The root directory of the project and its content. This can be edited if required, but usually it will remain blank, thus indicating the root directory of the repository is the same as the root directory of the web service.
Environment
The nature of the program so Render.com knows which of their configurations to use. With Python selected, Render will use their latest specified default Python version, but this is configurable.
Region
The physical location of the server hosting the web service. The location will slightly effect loading speeds etc.
Branch
The branch that the service should be deployed from. This will often be main (or master for older repositories) but is configurable to any public branch within the repository.
Build Command
This is the command that is executed when the deployment build is initiated. The command instructs the build to install the pip packages from the requirements.txt file and to install all Node dependencies listed in the package.json file within the repository.
The Node dependencies may be unfamiliar to you but they are used to comprise the pseudo-terminal and allow a terminal-based Python project to operate within a browser environment. The template used for this project had all the necessary Node configuration pre-populated for you.
Start Command
This is the executable command that is run once the build has completed. node indicates the runtime environment to run the command in, in this case Node.js. The succeeding index.js indicates the name of the file to be run within Node.
Process
-
Add a Name

-
Ensure the following settings match
Setting Name Value Root Directory **blank** Environment Python 3 Region Frankfurt (EU Central)
For those outside of Europe, a more localized region may be preferred.Branch main
You can deploy from a different branch if required. -
Set the Build Command
pip install -r requirements.txt && npm install
Using
&&in a terminal command means that anything following the&&will only be performed on a successful execution of the previous command. -
Set the Start Command
node index.js
-
Ensure the Free plan $0/month is selected.
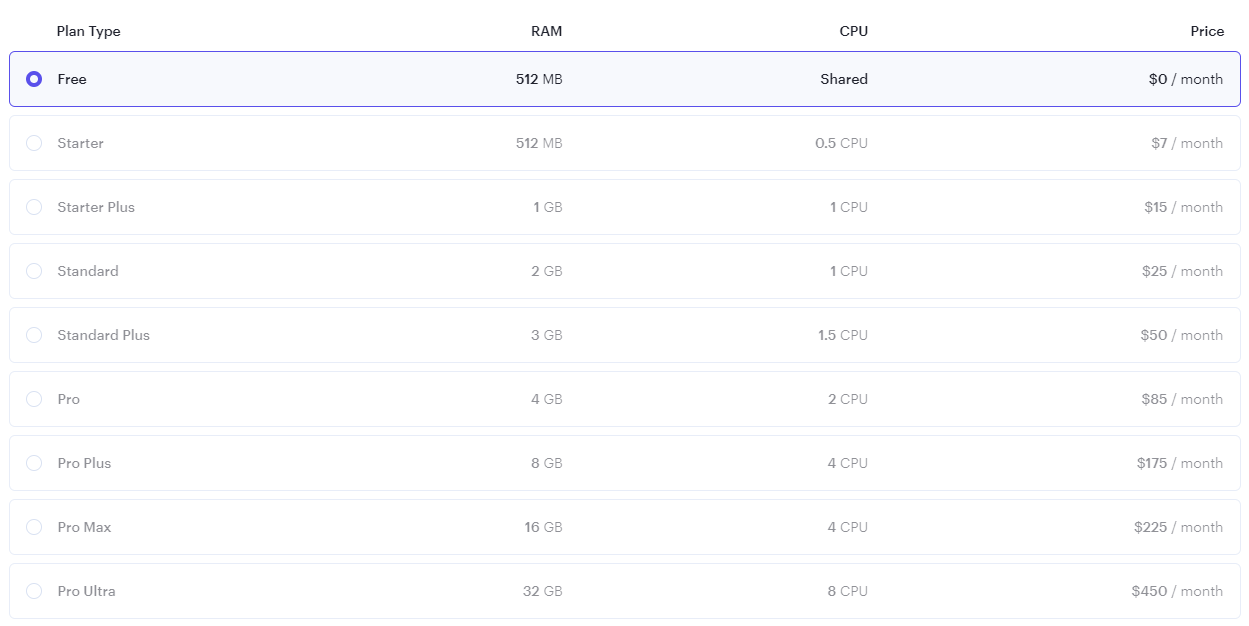
The requirements of the project are well within the free services offered by Render.com. Feel free to explore their pricing structure and free plan limitations.
Up Next
The environment variables are needed. The next page details how to add them.