deployment-docs
E-Commerce (MS4/PP5) : Build & deployment
Congratulations, you are nearly there! Now it is time to deploy the project.
These are the final steps to deployment. First, the build is initiated. Then the build and deployment processes are carried out. Finally, the application is deployed and ready for public viewing.
The build process time varies depending on the complexity of the project, the currently available resources from Render.com and a number of other factors.
The build log is available to watch if desired, but this is the normal time to “grab a cuppa”.
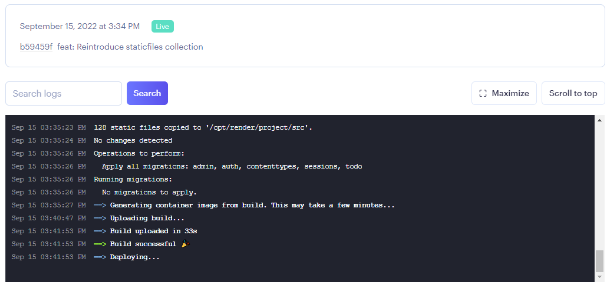
The build should complete with a “Build successful 🎉” message. The build then moves on to “Deploying…” and should complete with a “Starting service …” message.
Once deployed, go forth and test! Don’t forget, development does not stop at deployment. Make sure everything works as expected, configuration can be different in development and production versions of software so being thorough is always advised.
Process
-
Click “Create Web Service”

-
Wait for deployment…
Watch the console for some activity, deployment can take up to 15 minutes to complete
-
Deployment completed!
When the build and deployment have completed, the console will look something like this:

If the build process does not appear to complete, please refer to our troubleshooting guide.
-
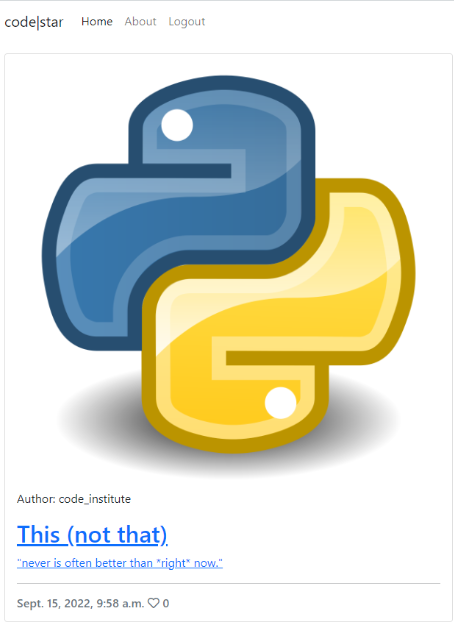
Open the deployed site via the link below the WEB SERVICE name.

The URL can be copied to a clipboard using the provided copy icon. Handy for adding to a README or sharing with a professional network.
-
Enjoy your newly deployed web service!!

If for any reason this process has not succeeded, please refer to our troubleshooting guide.
Up Next
There is just one last thing to do. As the deployed site is hosted using a new URL, the webhook endpoint needs to be updated in stripe.